 3528 high-pressure lamp with
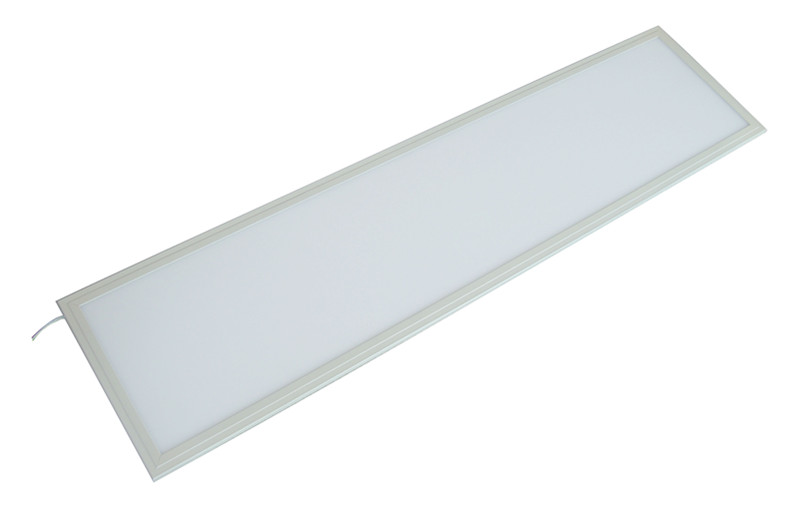 300 * 1200mm Panel Light
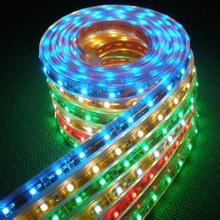 5050 RGB lights with high pressure
 5252 color lights with high pressure
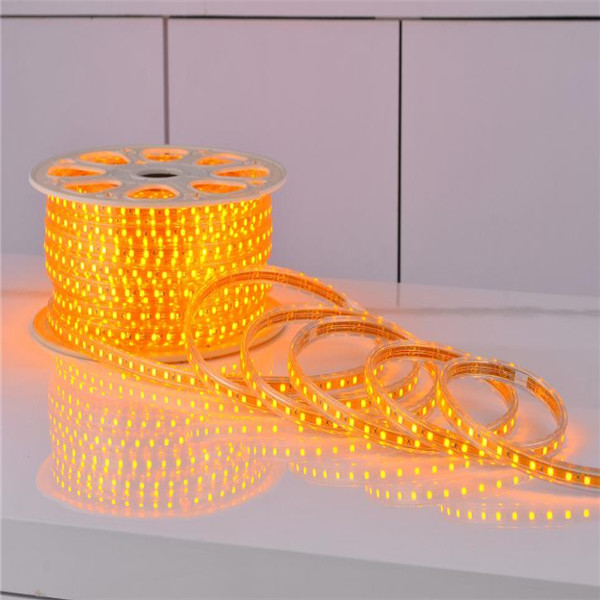
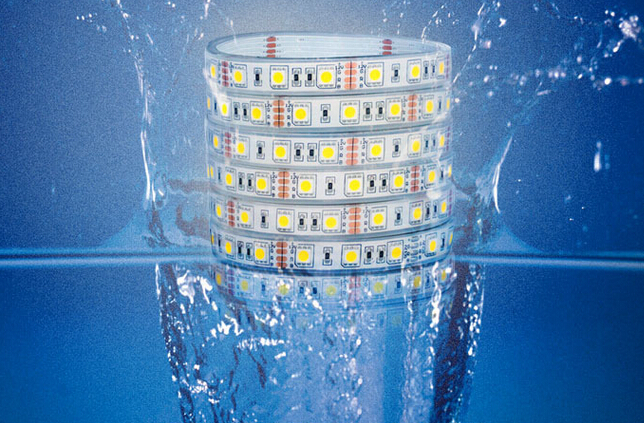 Glue deep waterproof lights
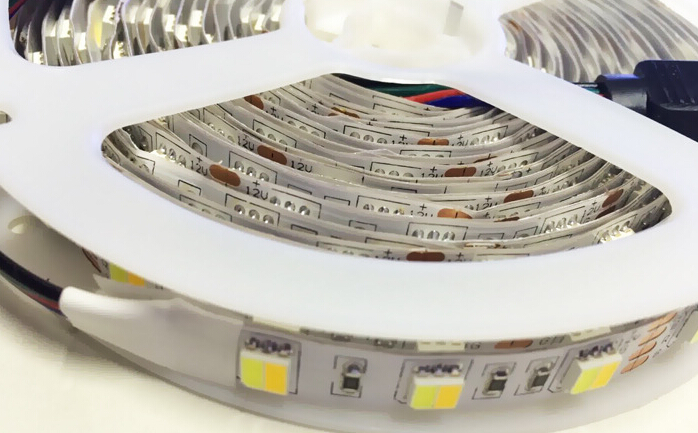 Single-lamp color temperature lights
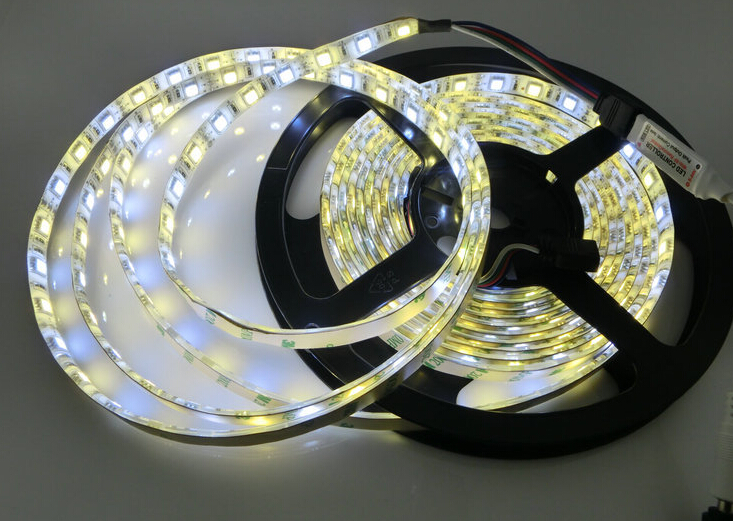 5050 color temperature lights
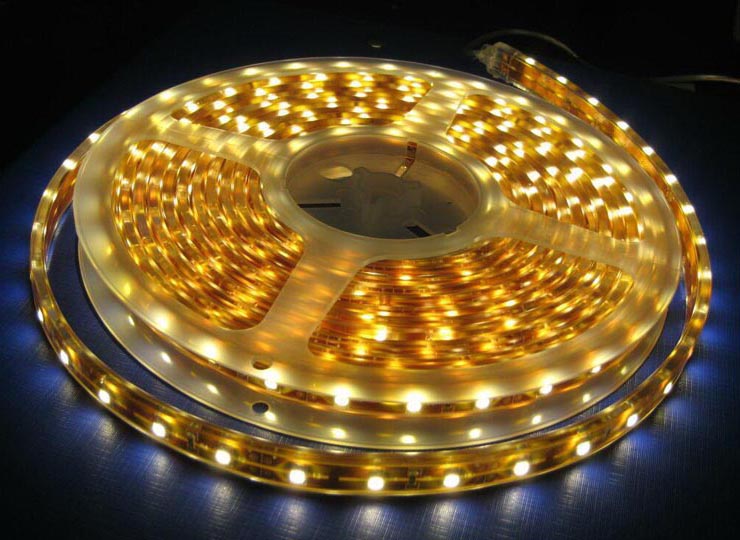 5050 60 lights filling plastic
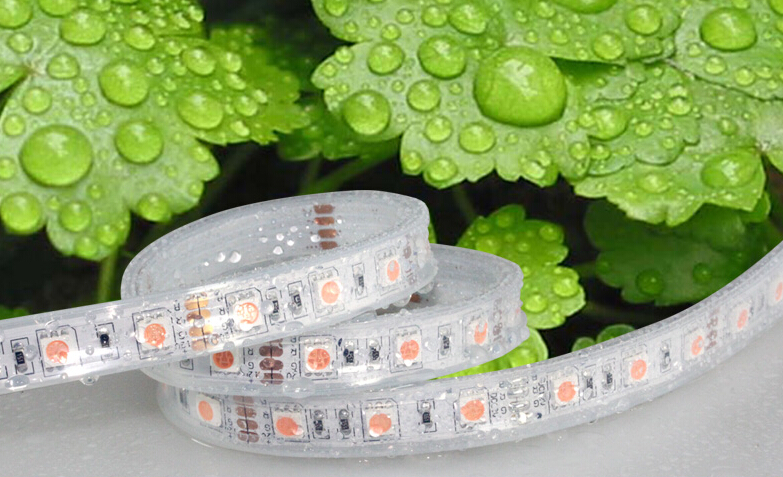 5050 60 lights casing
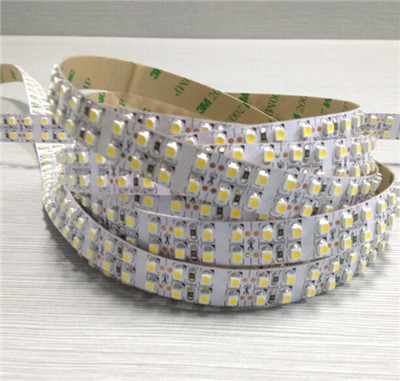 3528 240 Lights
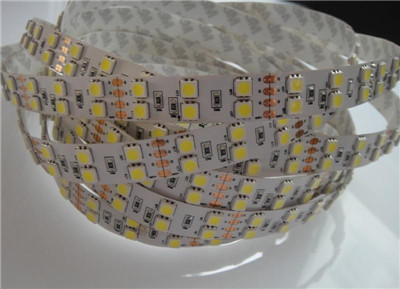 5050120 Lights
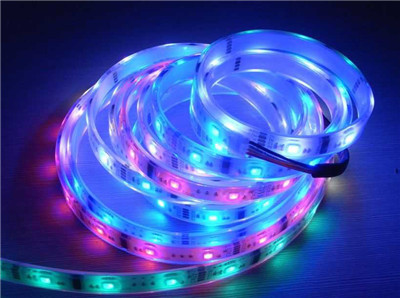 5050 RGB low-voltage lights
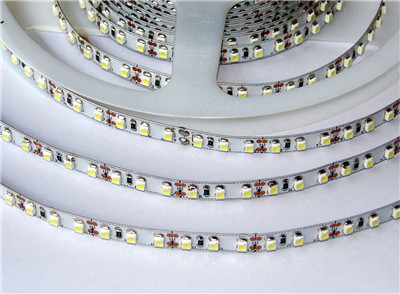 3528120 Lights
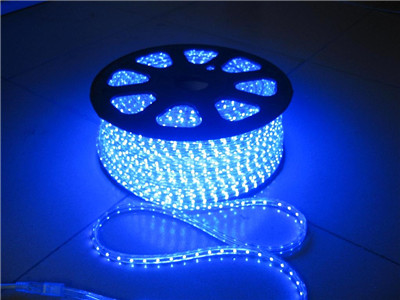 5050 Blu-ray high-voltage lights
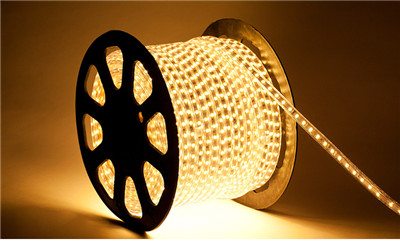 5050 High-voltage lights
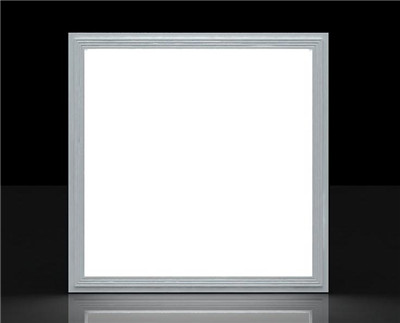 600mm * 600mm panel light
 RGB Panel Light
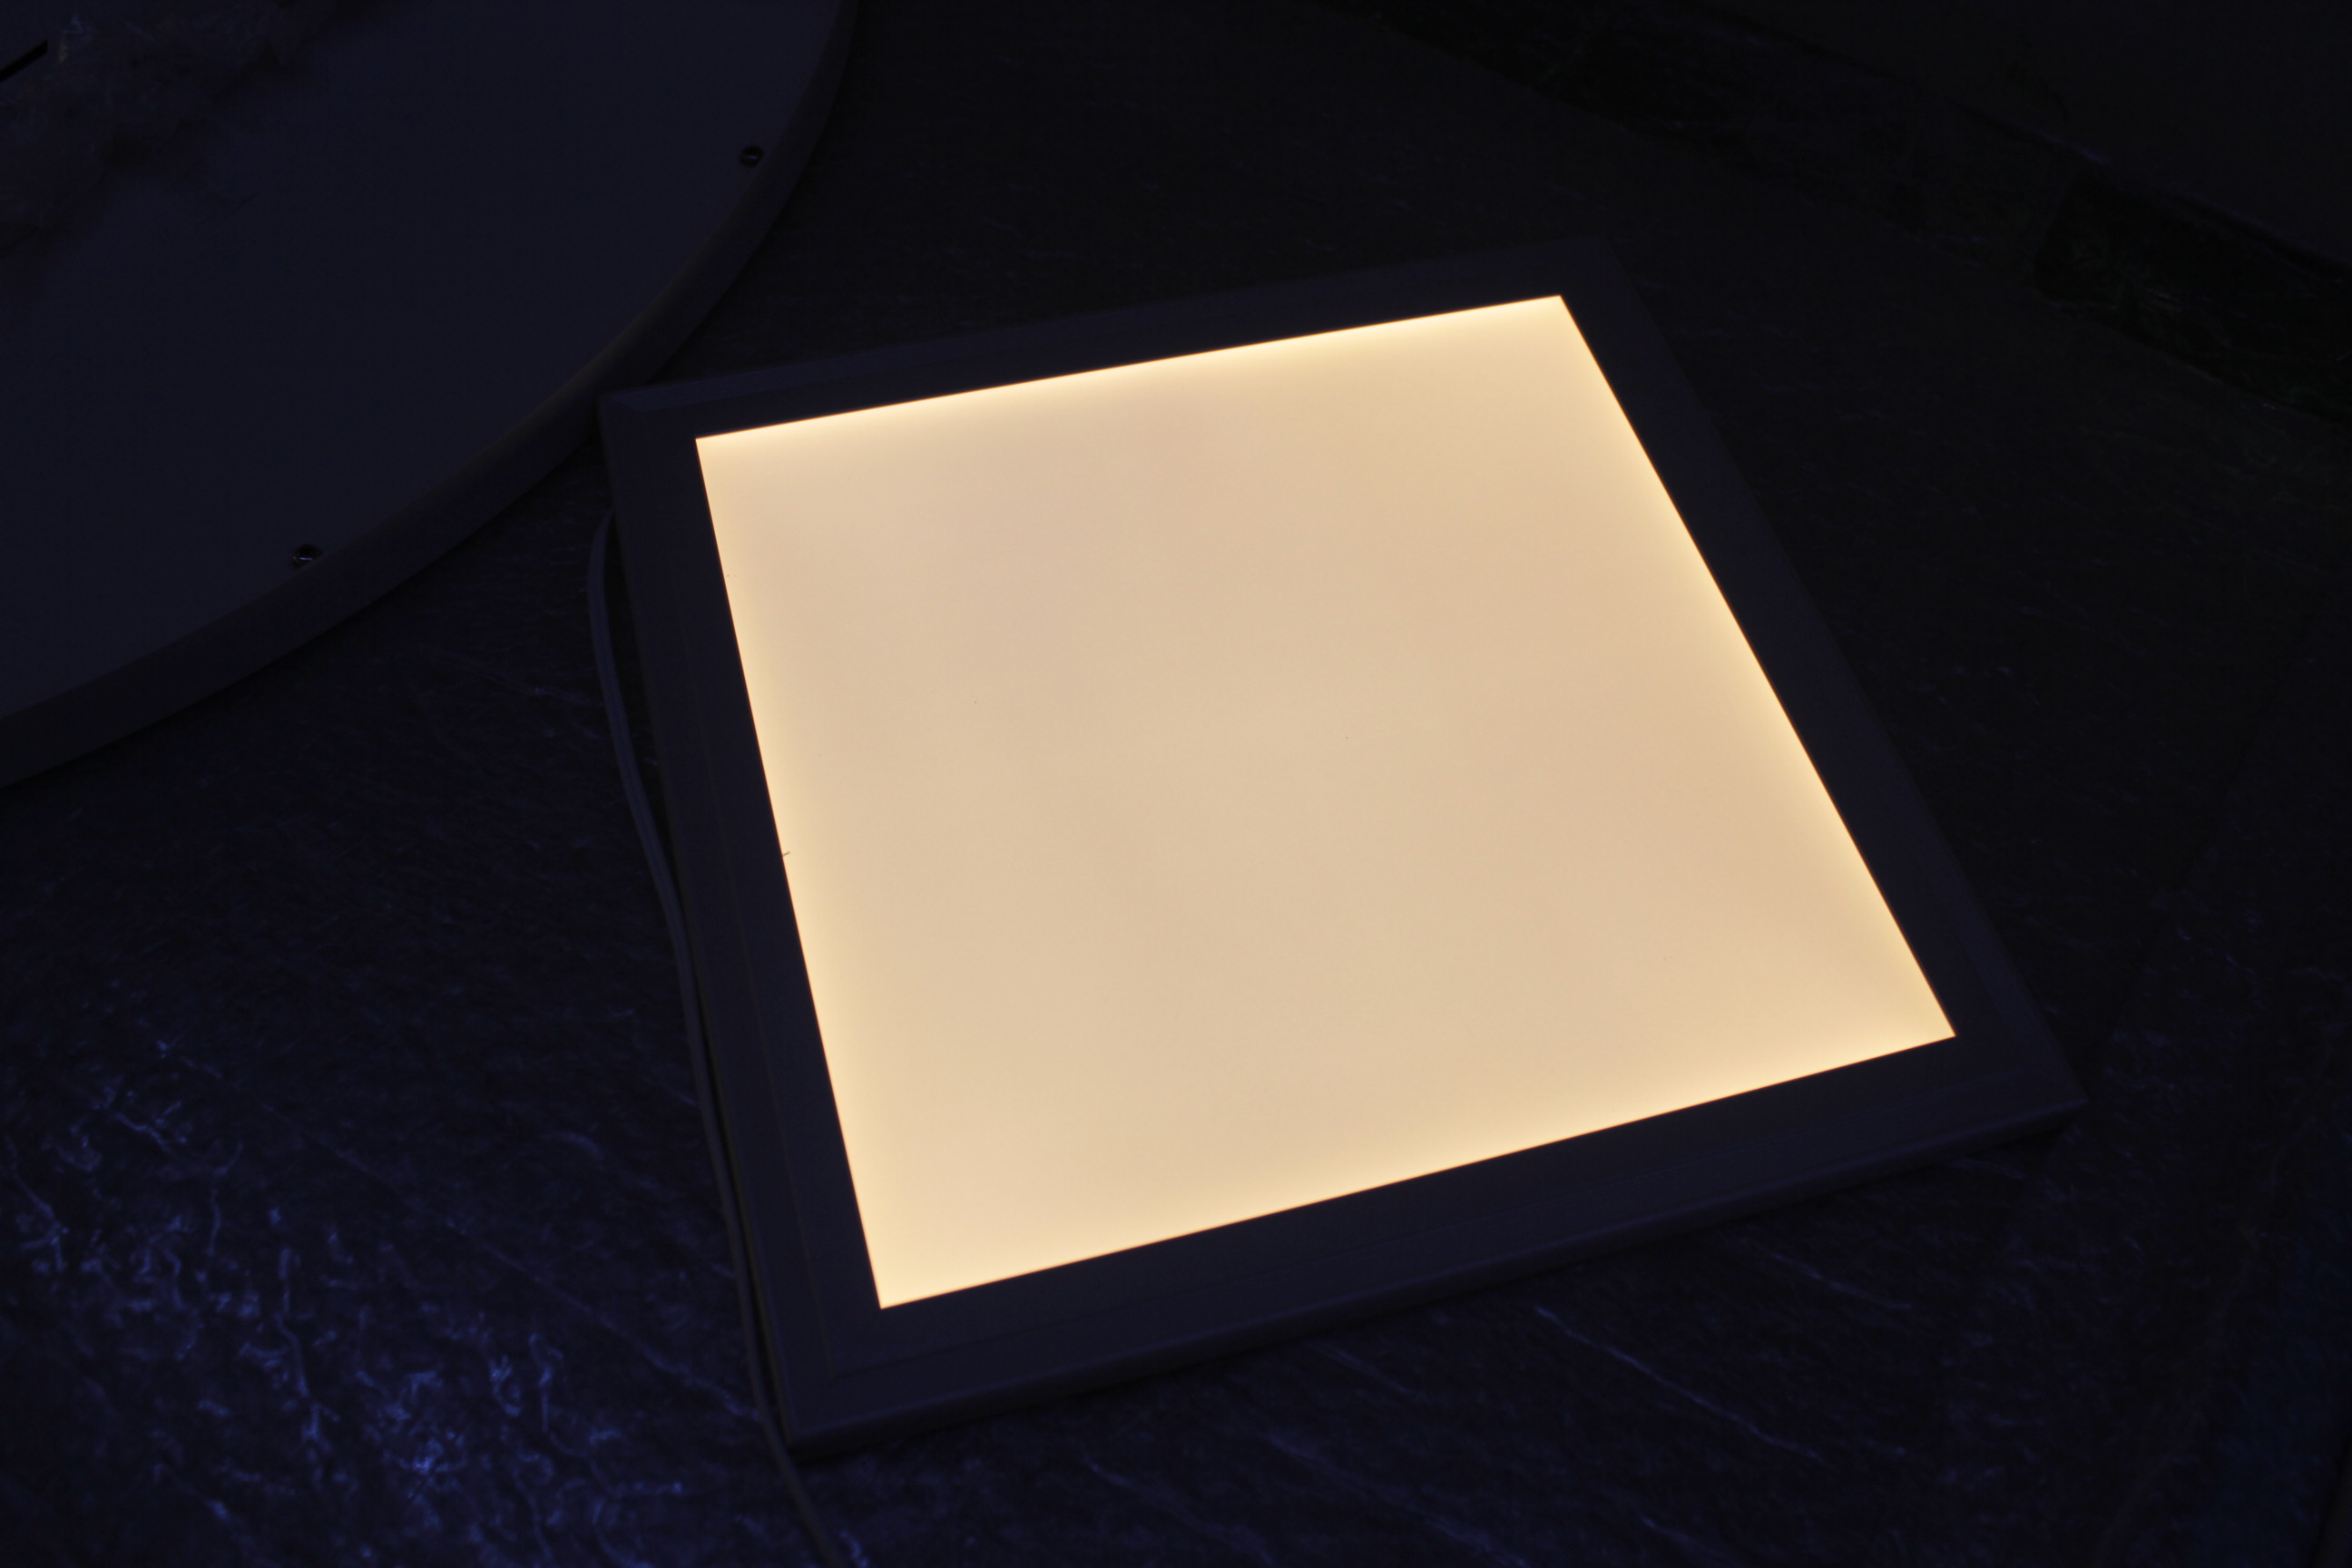 Color temperature adjustment panel light dimmer
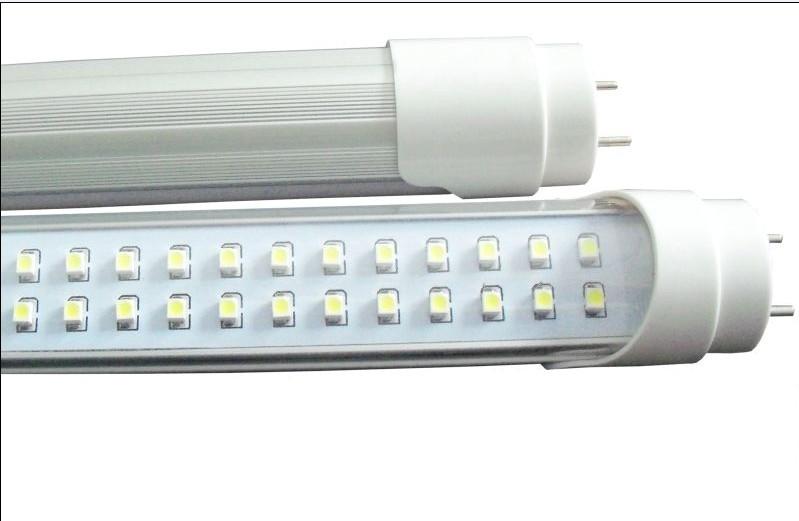 T8 single tube
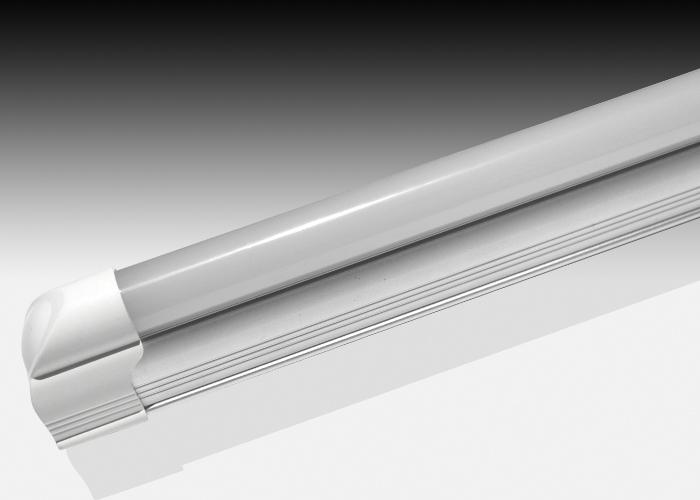 T5 Integration lamp
 SMD5050 Epoxy lights
 240 mm* 16mm Round panel lights
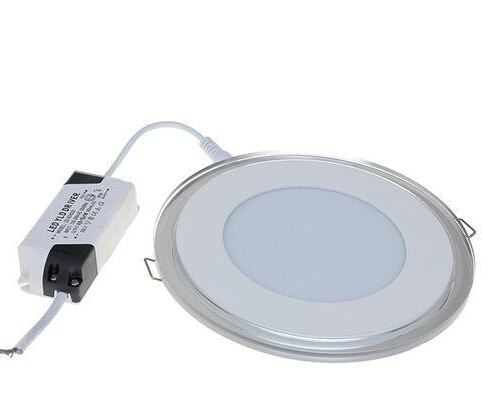 Round color panel lights
LED fluorescent tubes have a wide range of applications, supermarkets, schools, office city, metro, etc. in everyday life, anything can appear with the public, can be applied LED lamp lighting. Operating instructions LED fluorescent LED lamp manufacturers, LED lamp manufacturers necessary! LED lamp manufacturers will learn!
Tools / materials
Power supply
PC cover
LED light source
Aluminum
Screw
Method /
First, clean tubes:
1 Check whether the strain tubes, crushed
2. tubes with alcohol to wipe the position of double-sided adhesive paste, dry alcohol.
3. The operation is completed, the job goods Gently push to the next station.
Second, posted double-sided adhesive:
1 Check whether the strain tubes, crushed
2. tubes with alcohol to wipe the position of double-sided adhesive paste, dry alcohol.
3. The operation is completed, the job goods Gently push to the next station.
Third, plywood:
1. Check the position of the double-sided adhesive paste clean,
2. In the aluminum plane with double-sided adhesive, double sided tape to the starting end flush with the aluminum tubes, side welt hand by tight double-sided tape, double-sided tape to avoid bubbles below, along with a blade aluminum pipe cross-section cutting across the double-sided adhesive.
3. Remove the double-sided adhesive paper compartment, side tear while watching for bubbles, if it across the barrier at the edge of the paper to be squeezed out of the gas.
The operation is completed, the job goods Gently push in the next station.
5. Check whether there is a sticker crooked double-sided adhesive bubble,
6. tear double-sided adhesive to one side,
7. Place the aluminum plate affixed with double-sided adhesive aluminum tubes a (gap 2mm) began to slowly edge
Posted by hand side under the aluminum plate, must be posted up at the entire aluminum plate.
8. After the self-test OK, you gently to the next station products.
Fourth, mounted power:
1. Check whether there is a sticker crooked aluminum plate, snapping,
2. The power from the aluminum side panel "LED +" "LED-" load tubes, wire end first into the white, wearing a long white line to the other side tubes, power down into aluminum tube.
3. The operation is completed, the job goods Gently push to the next station.
DC welding red line, black DC line:
1. Check the power supply are the same direction, pressure lines,
2. Black wire bonding in the red line on the side (ie "LED +" position)
3. Black wire bonding in the red line side (ie "LED-" position)
4. The job is completed, the OK push products to the next station.
PCB board welding cap:
1. Check whether the red and black wire welding anti, cusp, false welding,
2. The wire bonding pads in the middle of the PCB
3. The operation is completed, the product will be OK to push to the next station.
Lock lamp line:
1. Check the PCB board is welded false welding,
2. weld PCB board AC line, and plug the empty hole alignment, line toward the opposite inner panel plug
3. Batch suction power screw locking
4. The job is completed, the OK push products to the next station.
Loaded PC cover:
1. Check cap screws are tight inside, cable is Popi,
2. First rag with alcohol inside the PC cover clean.
3. Clean good PC cover mounted on aluminum.
4. The job is completed, the OK push products to the next station.
Loading lamp:
1. Check whether the PC cover two long or short as 2mm aluminum
2. First, bend the wire into the tubes,
3. PC cover above the protective film tear
4. Place the lamp cover to the screws holes.
5. The operation is completed, the product will be OK to push to the next station.
Hit the screw:
1. Check the lamp and aluminum screw hole is for good, if there is pressure lines,
2. Place the screws on the screw hole on the cap,
3. Batch locking power.
4. The job is completed, the OK push products to the next station.
Length of the test:
1. Check whether the screws have matter, leak play,
2. The first calibration fixture
3. Place the flat plug into the test tube rack test
4. Can the lamp can be observed and put into tension; if they can not put or placed after the gap is too large (less than 3mm), placed in the box for repairs
5. The operation is completed, the product will be OK to push to the next station.
Leakage test:
1. Inspect the instrument 0.50KU, DC, 5.00mA
The lamp on the lamp stand back up,
2. stick close to the right hand high pressure tubes, left by the green switch, press after two seconds, showing the green light description for this product OK, if the red light description for this product into the defective area ON
3. The operation is completed, the product will be OK to push to the next station.
Electrical test:
1. Open the protection switch (pull position to the "ON").
2. The two AC power lines are connected to the two-block head tube (to ensure that the "OFF" position power switch before then)
3. Close the power switch (pull to "ON"), then observe the lights are all bright, if not bright or not bright part is defective products, defective products into the area. If you are on, put the protection switch to pull to the "off" at this time to observe the power meter readings are in the normal range 9.5-11.2, it indicates that it is OK if the goods.
4. After loading cartons.
Aging test:
1. Take a good product into aging aircraft test test 48H.
2. Test 48 hours, it was observed lights are all bright, if not bright or not bright part is defective products, defective products into the area. If you are on, it is the yield.
3. Complete into the packaging area, ready packaging.
- Previous: no
- Next:LED lamp design features
